Thank you for your interest in Loop. We’re not accepting new customers at the moment.
Prerequisites
- Restricted API key from Stripe
- Log into Stripe
- Make sure you are on the environment you’d like to connect. For sandbox accounts, make sure make sure your Stripe account is in Test mode or SandBox and for production accounts, make sure your Stripe is in live mode.
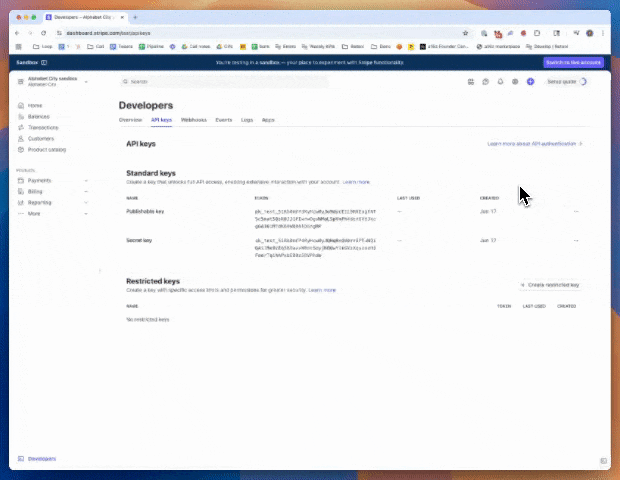
- Use the global search to navigate to the Developers > API Key page
- Click create a restricted key
- Click create a 3rd party key
- (optional) Input Loop Crypto
- Create key
FAQS
Does Loop support accepting fiat payments?
Does Loop support accepting fiat payments?
Loop processes crypto payments only and allows merchants to settle in fiat or crypto. Stripe is your processor for fiat payments. Loop manages the crypto payments and syncs all crypto payment data back to your Stripe account.